Hold on there! Refinish a vintage Gibson? In candy apple red?? There better be a darn good reason to do something like that… and there was.
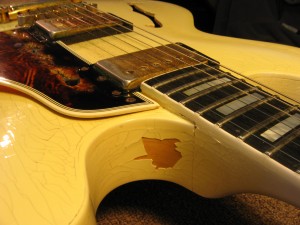
As mentioned in previous posts, the guitar repairman’s rule of thumb with vintage instruments is to leave it in as close to original condition as possible while still maintaining its playability. In the case of this 1960’s Gibson ES-355TDC, a couple of previous repairs have left it far from its original condition. When it arrived, the most obvious change was that it had been painted white years earlier and that white finish was flaking off in big chunks. A little closer look revealed a headstock repair the likes of which we’ve never seen. Throw in some long ago water damage, cracks in the body, and stains in the wood and the vintage value of the guitar is pretty well gone. You may as well paint it blue; or as the owner of this guitar decided, candy apple red.
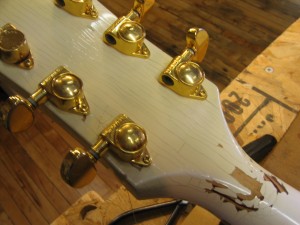
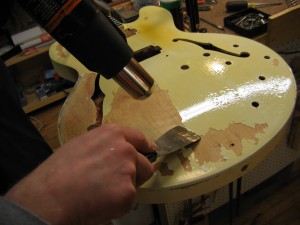
Our original plan with this guitar was to strip off the old white paint and restore it to as close to original condition as possible – meaning refinish it in its original translucent cherry red color. But once the flaking paint was off, we saw that the headstock had been entirely rebuilt, with the new headstock made, curiously enough, out of plywood. There were also a great number of cracks in the surface layer of the laminated body. These cracks were likely the result of extensive water damage and could be the reason it was originally refinished.
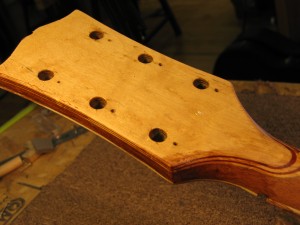
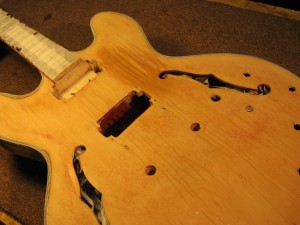
The body cracks and flaws would be visible through any transparent color. We know because we tried it, even darkening the red color to try to hide the cracks. It just didn’t look very good.
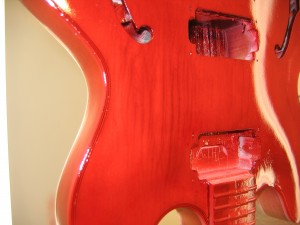
So the owner called an audible and told us he’d just as soon have us paint it something flashier – candy apple red and while we were at it, could we add binding to the F holes. It was an unexpected color request, particularly since Gibsons were rarely finished in candy apple red, but one we felt was not out of line given the condition of the guitar. He loves the way this guitar plays and decided he wanted to love the way it looked too.
We began the new work by gluing white binding to the inside of the F holes. This guitar didn’t have binding , but plenty of other old Gibsons do, so it didn’t look out of place. It’s tricky and sticky work that takes time and patience.
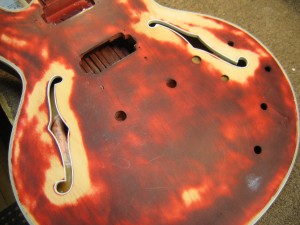
Once the binding is in place we can sand the F hole areas level. Next we add a coat of white primer/sealer…
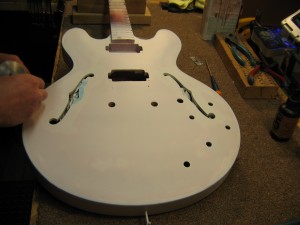
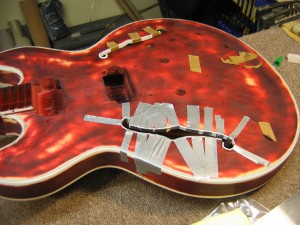
…and a couple coats of the sparkly candy apple red.
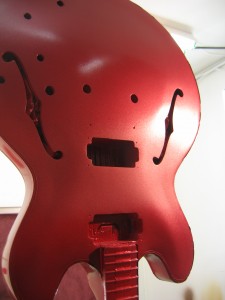
Before spraying clear top coats, Dan has to clean the red paint off the body binding and the black paint off the headstock and Gibson logo.
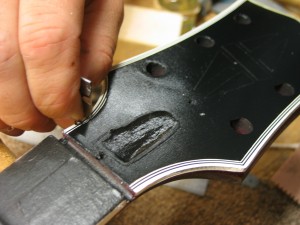
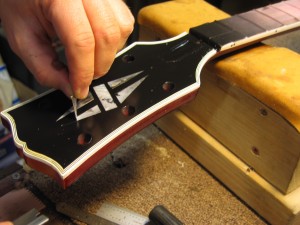
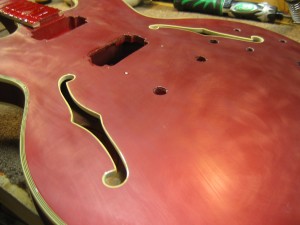
Next it’s time to top the finish with clear nitrocellulose lacquer. To get the finish smooth and glassy in appearance, Dan has to wet sand the clear top coats up to 1200 grit sandpaper before buffing out the whole guitar (hence the hazy appearance in this shot.)
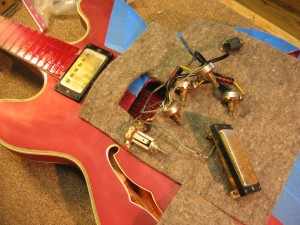
Before final buffing, Steve carefully threads all the electronics back into place. On a hollow body guitar like this there is no easily accessed control cavity (like the back of a Les Paul) or pick guard (like a Stratocaster) on which to mount the pots and jack. They have to be pulled through the pickup hole using fingers, dental floss, surgical tubing, or all of the above. It’s kind of like building a ship in a bottle.
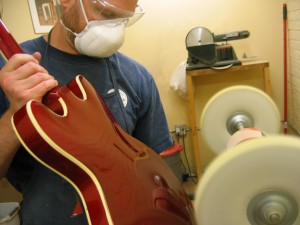
Then, once the pieces are back in place, Dan buffs out the entire guitar.
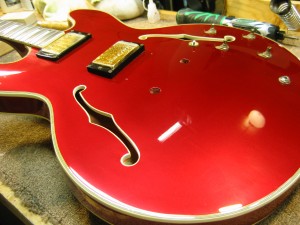
Finally, we install the hardware and a new pick guard to replace the crumbling and decaying original one you saw in the first picture. A fresh set of strings and this red rocket is ready to roar.
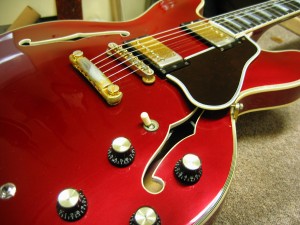
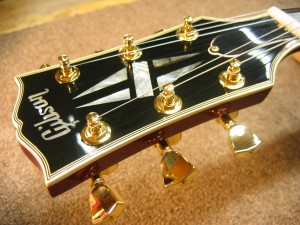
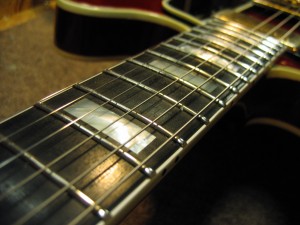
Oh, yea, and Dan refretted this guitar too. He worked so fast I couldn’t get pictures of him working! We’ll cover that subject in a future Workbench post.

I’l give you £100 quid for it. x
Amazing job guys! A total piece of crap resurrected into a thing of beauty! Nice!
How did you go about stabilizing the cracks in the body laminate prior to starting the finish work? I enjoy checking out the work in the Virtual Workbench.
Fortunately, the cracks in the body were not wide open and loose, but we did want to make sure they didn’t get that way and show through the finish. So Dan squeegeed epoxy into the cracks, let that cure, sanded it level, and sprayed a primer coat. Then after observing where there was finish sinking in the primer, he used pore filler to level the surface before spraying color.
Thanks for the info Steve. Was just curious about your process for that as I know it can be an issue on guitars like this, especially with a metallic finish.
I want that guitar!! Gibson has always been my favorite type of guitar.
I remember seeing a few candy apple red ES-335’s and 355’s back in the late 1960’s as it was a very popular color for hot rods and motorcycles at the time. Original guitars that are now faded seem to be called burgundy mist by some dealers, a term I never heard back then. I remember drooling over one from outside the window at either Bill Mar’s Music in Elkton, MD or Wilmington Piano Company in Wilmington, DE. The poor thing faded in 2 – 3 weeks! They had an amp cord plugged in to make it look ready for action and there was a shadow behind it which preserved the bright candy red color. The next time I saw it they had a translucent yellow wing shade in the window to block the UV. Maybe I’m wrong but I always assumed any of the semi-hollow beauties were painted solid colors to cover cosmetic flaws in the wood (just like with this one).
Steve, I’m assuming that an old pro, like you, used surgical tubing to fish the guts of the guitar back into place. Which (inside)diameter of tubing works best.
I’ve rewired one guitar, an archtop, and I used dental floss. I don’t want to go through that again!
Hooper, I get my surgical tubing from Allparts guitar parts supply. I never gave a thought to its diameter before, but it looks like it’s about 1/8″ inside.
http://www.allparts.com/1-Ft-Surgical-Tubing-p/gs-0330-000.htm
was wondering did you paint over the binding and the just clean it with a razor? or did you taped it off?
anyways amazing work
Rafael, we’ve found that with edge binding, we get a cleaner line by scraping with a razor rather than taping. However you’ll notice Dan pulling tape off the headstock inlays. That’s because a) we don’t want to scratch the pearl with the corner of a razor and b) it would be nearly impossible to lay the blade flat enough to clean the sharp corners and tiny pieces of inlay. So… a little bit of both.
Steve, Thanks for the info. What kind of paint did you use? I was going to attempt the same thing on a 335 “basketcase”. I am going to try a House of Kolor candy. I will check with my paint guru to see if I can go over it in nitro?
I have a similar project. I goofed up and used stripper… which in turn softened the binding…Now I’m carefully trying to replace with the neck still in place. That is how you learn I guess. Also …did you use a base color of silver or gold under the candy? What kind of paint? Laquer?
John, we like Lenmar Duralaq for our nitro. We’ve tried lots of others and like the way this one cures.
For this one we used nitro for our top coats and a blended candy color. Much more consistent results than the layered approach (and much less expensive for the owner.)
We’ve never used House of Kolor, but the color coat on this guitar was from Guitar Reranch.
What size binding did you use for the f holes? Compared to the thickness of 335 style body binding the f hole binding must be thinner…
Swish, It’s been a year and a half since we did this guitar, but our best recollection is that we used binding that was about .065-.070 thick. You’re right, you couldn’t use thick stuff or multiple layers on curves that tight.
I have a 1980 Gibson Les Paul Custom that a previous owner routed for a Kahler trem. The nut was also replaced with a locking nut and the binding was removed around the nut area. Can you help to restore it to original? Or do I have a lost cause? The color is sunburst. What would the cost be?
I need a Pick Guard for a 1964 Gibson ES355 Guitar. Can you help me
Clifford Baril
How would you go about replacing a mop Gibson logo in a 70s es 355 headstock. It’s bound obviously and I would rather not if at all possible remove any of the patina from the rear of the headstock. The logo area was damaged and apparently removed and with black filler of some kid. Everything else is intact.
Thanks,
Bart
Bart,
Email me a photo if you can and I’ll respond with a detailed estimate! info@chicagofretworks.com