In this post, see how we made some ugly previous “repairs” look right and brought a great vintage Gibson back to life.
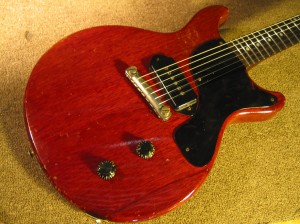
This 1960 Gibson Les Paul Jr. is a terrific playing and sounding specimen. But it sure didn’t come in looking this great. After the owner picked it up in an auction, he emailed us some rather scary pictures of some truly scary looking “repairs” he hoped we could correct. We assured him we could make it look great and, more importantly, play great again. When it arrived from Florida, we took some deep breaths and assessed the damage.
The first thing that jumped out was a nasty headstock break with an awful looking mix of glue, epoxy, and maybe some bondo caked around the outside. Yuck.
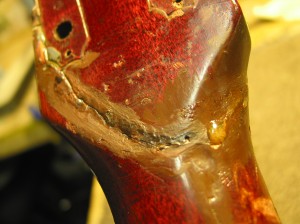
Next there was a deep crack in the neck heel…
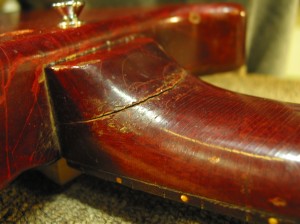
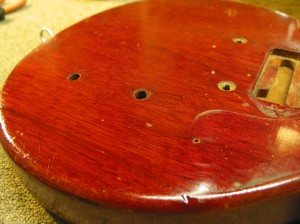
…and a large chunk that had broken off and been glued back onto the lower bout.
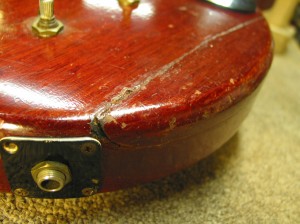
Finally there was an odd look to the ends of the fretboard. Can you see what’s wrong?
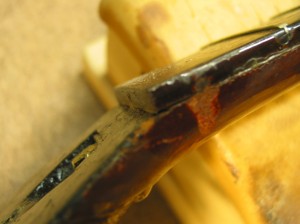
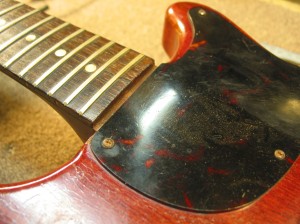
The fretboard has been removed and re-glued – in the wrong spot! That gap between the fretboard and pickguard (above) tells us that the previous repairman slid the board to the back of the nut shelf rather than the front, leaving A) no place to put a nut and B) a scale length that is off by nearly a quarter of an inch. So we knew the fretboard had to be removed and re glued in the right position.
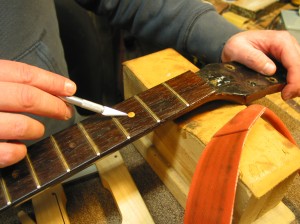
The dots come out and the board comes off. The rather stingy amount of glue residue under the fretboard is yet another mark of the sloppy work that was done before.
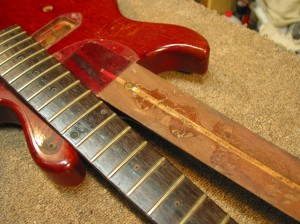
At this point, we noticed another problem; the neck itself was loose where it joined the body. So we steamed it off the rest of the way and reglued it properly.
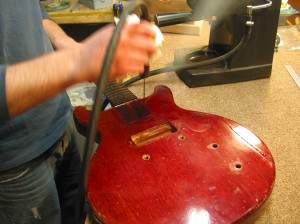
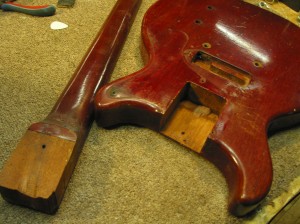
Once the neck and body are properly joined, we can move on to leveling the gluing surface between the neck and fretboard materials and gluing the fretboard on again.
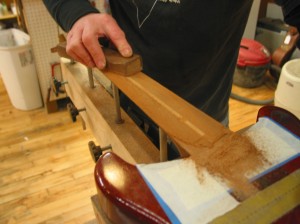
With the fretboard in the right spot, there is once again a nut-shelf.
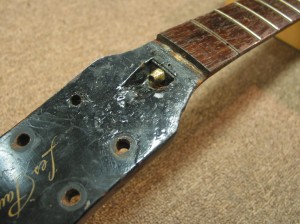
Now we can start cleaning up the messy headstock. We begin by smoothing away the rough globs of paint and glue from the previous work and using a leveling compound to make the surface level and smooth.
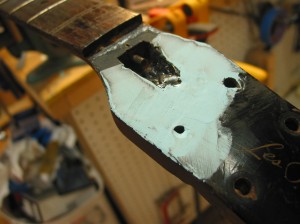
We do the same for the back of the headstock – which already makes it look much better.
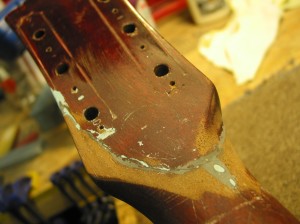
It’s still an ugly looking repair, but to make sure it would hold, we put strings on and applied even more clamping pressure (to see if it came open.) It surprisingly held fast and strong. So the previous repairman avoids the shutout and manages to at least get this part of his repair right!
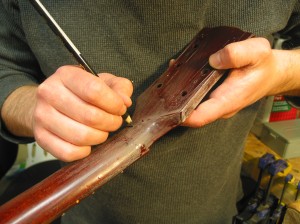
After applying some red finish to match the original color, Dan draws in grain lines by hand.Then he shoots clear top-coats of nitrocellulose lacquer, blending it in to the original finish. He does the same for the crack at the neck heel.
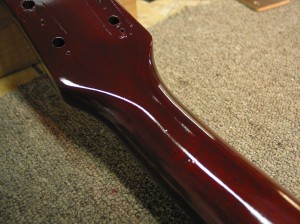
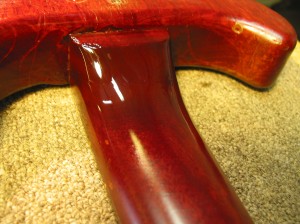
For the body crack, we wanted to take a minimal-impact approach. So we used a colored filler to level the area around the break and again sprayed a light coat of nitrocellulose to blend it in.
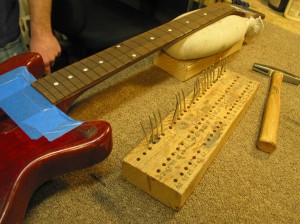
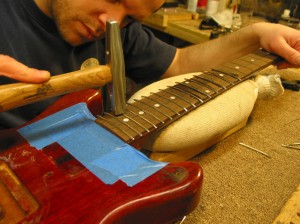
Once the new nitro finish is cured, we can level and prep the fretboard and hammer in new frets.
Finally, we go back to the crack repairs and distress the new finish to make it look like nothing ever happened.
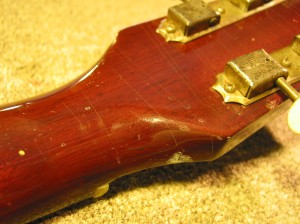
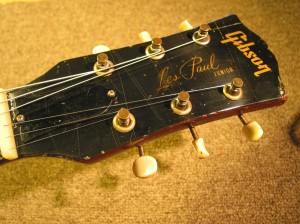
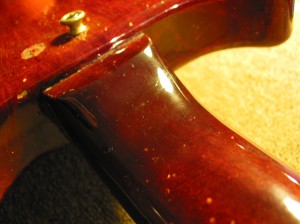
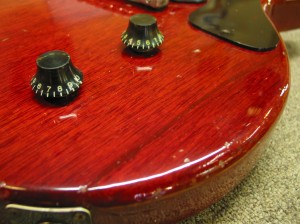
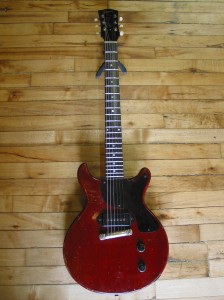
This classic guitar looks great again and is ready for many more years of music.

Wow, i can’t get enough of your picture diaries. Gorgeous looking guitar. How much was this repair in the end?
Was the bottom of the neck pocket flat and the tennon angled ?
Or the contrary?
Henry,
First off, apologies for just now seeing your question. For the most part the pocket is routed flat and the angle is shaped on the “male” / neck part of the joint. We tried to leave both sides unchanged by this repair. If we were to change it in either direction it would have required serious touch-up to the portion of the tenon that is visible under the pickguard; something to be avoided for certain.